Getting Started
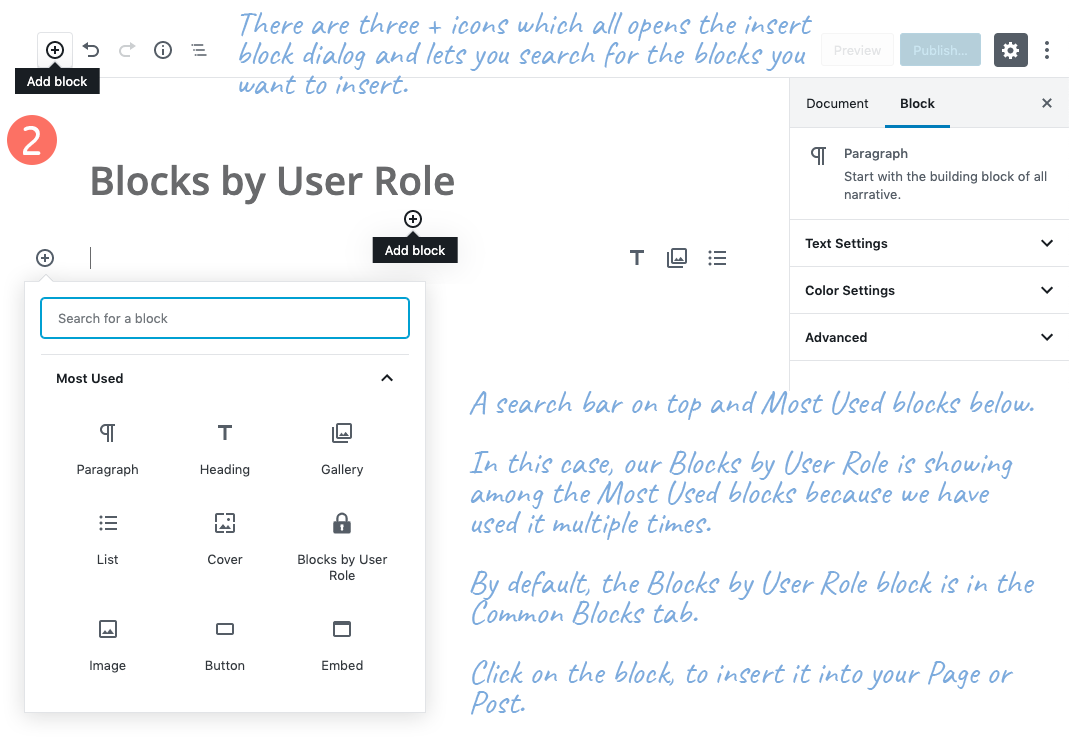
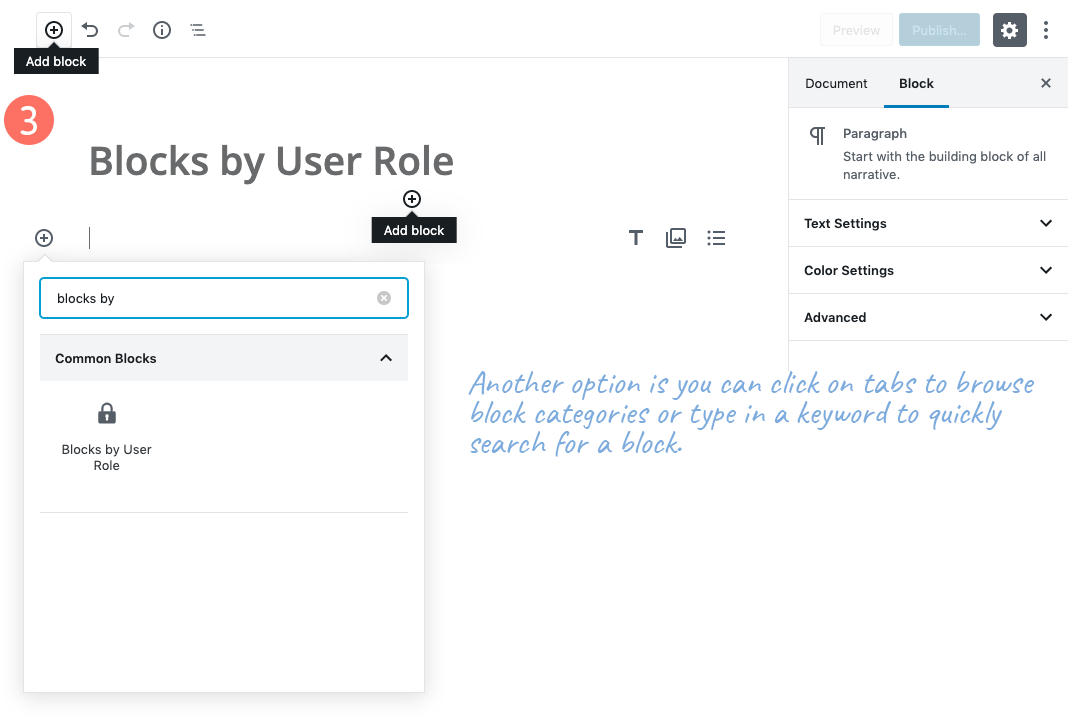
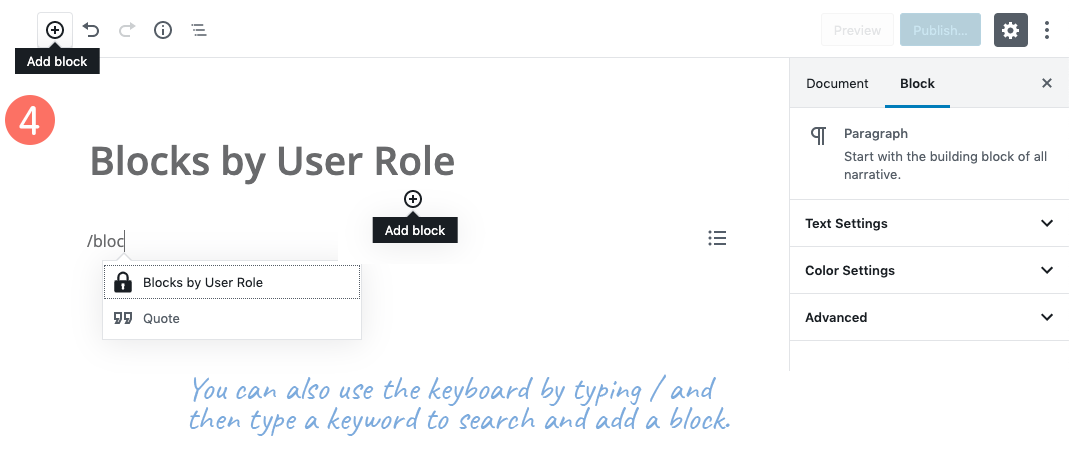
Now you have installed Blocks by User Role and are ready to get started.
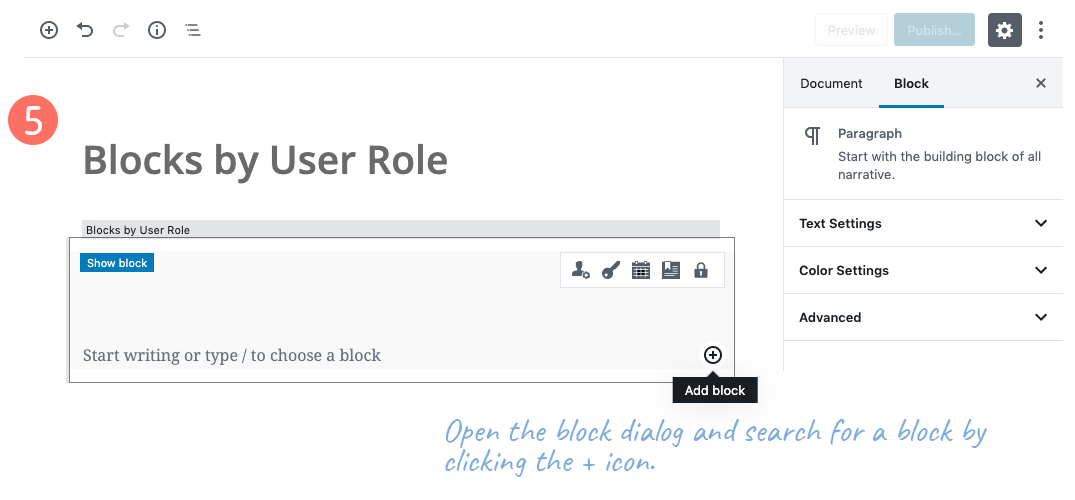
The Blocks by User Role Block itself is not visible in the frontend. It works as a placeholder for other blocks. The Block allows you to conditionally show or hide content in Blocks based on the User Role of the visitor and other filters.
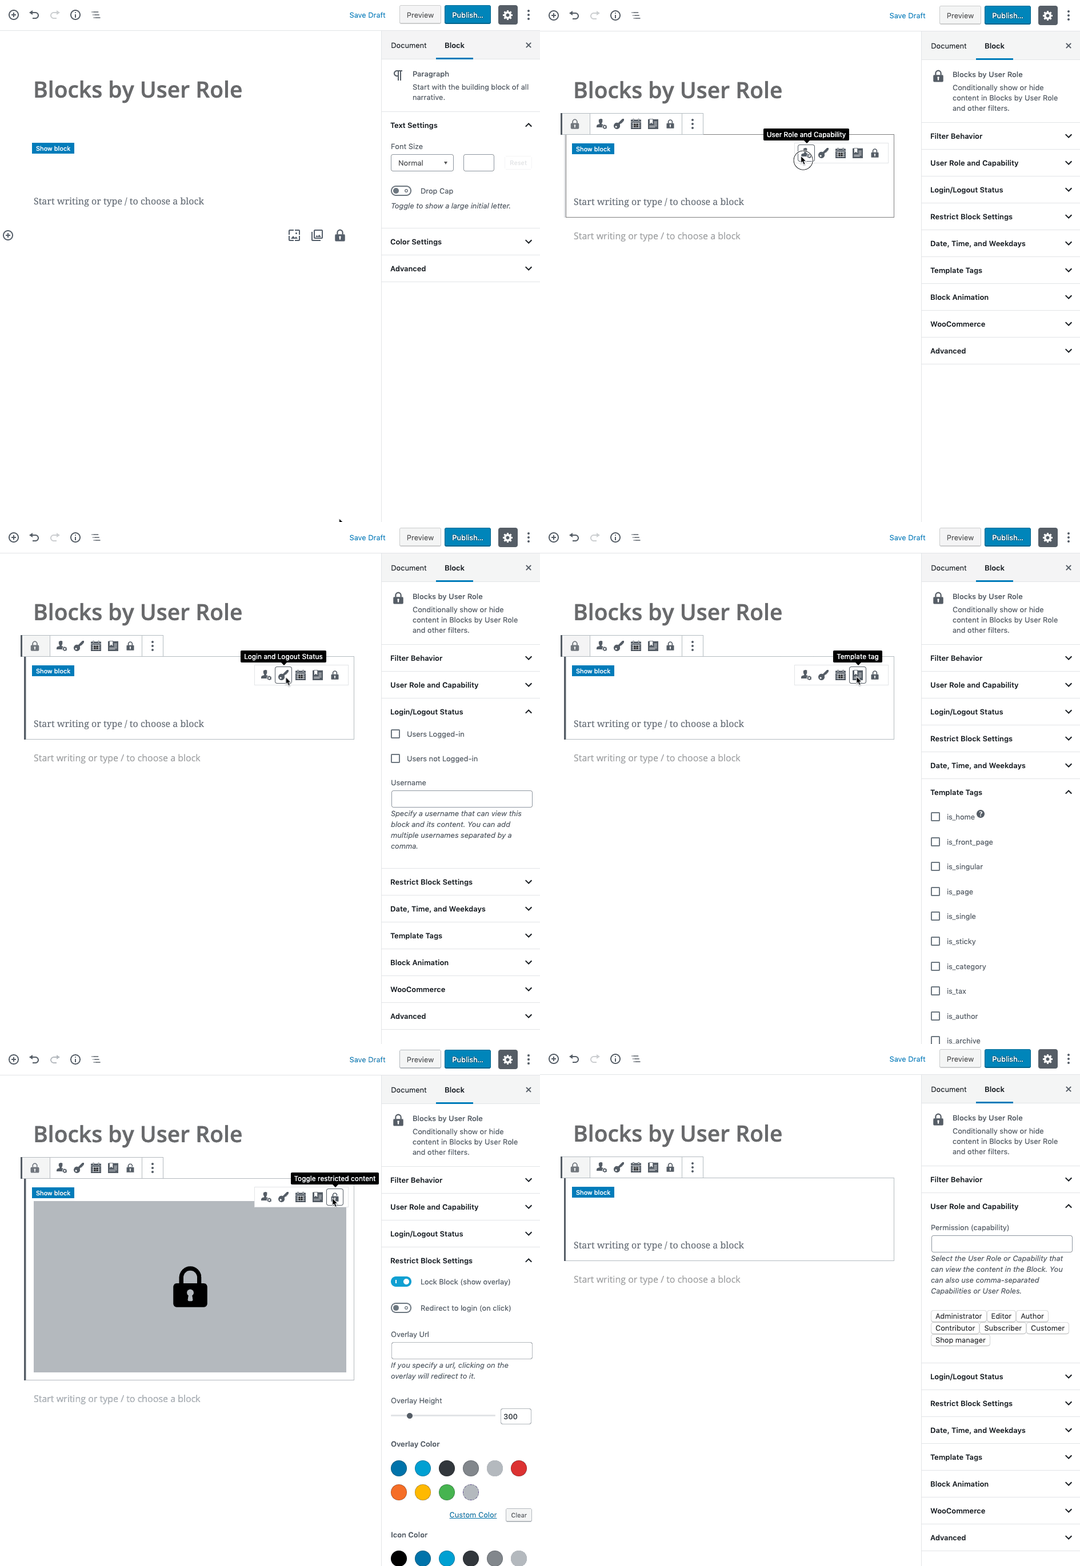
Inside and above the Block, you see five icons. Each of the icons works as a shortcut to the Block settings.
Block Settings
On the right side of the Gutenberg editor are the Document and Block settings, which allows you to tweak the settings for your inserted Blocks.
Filter Behavior
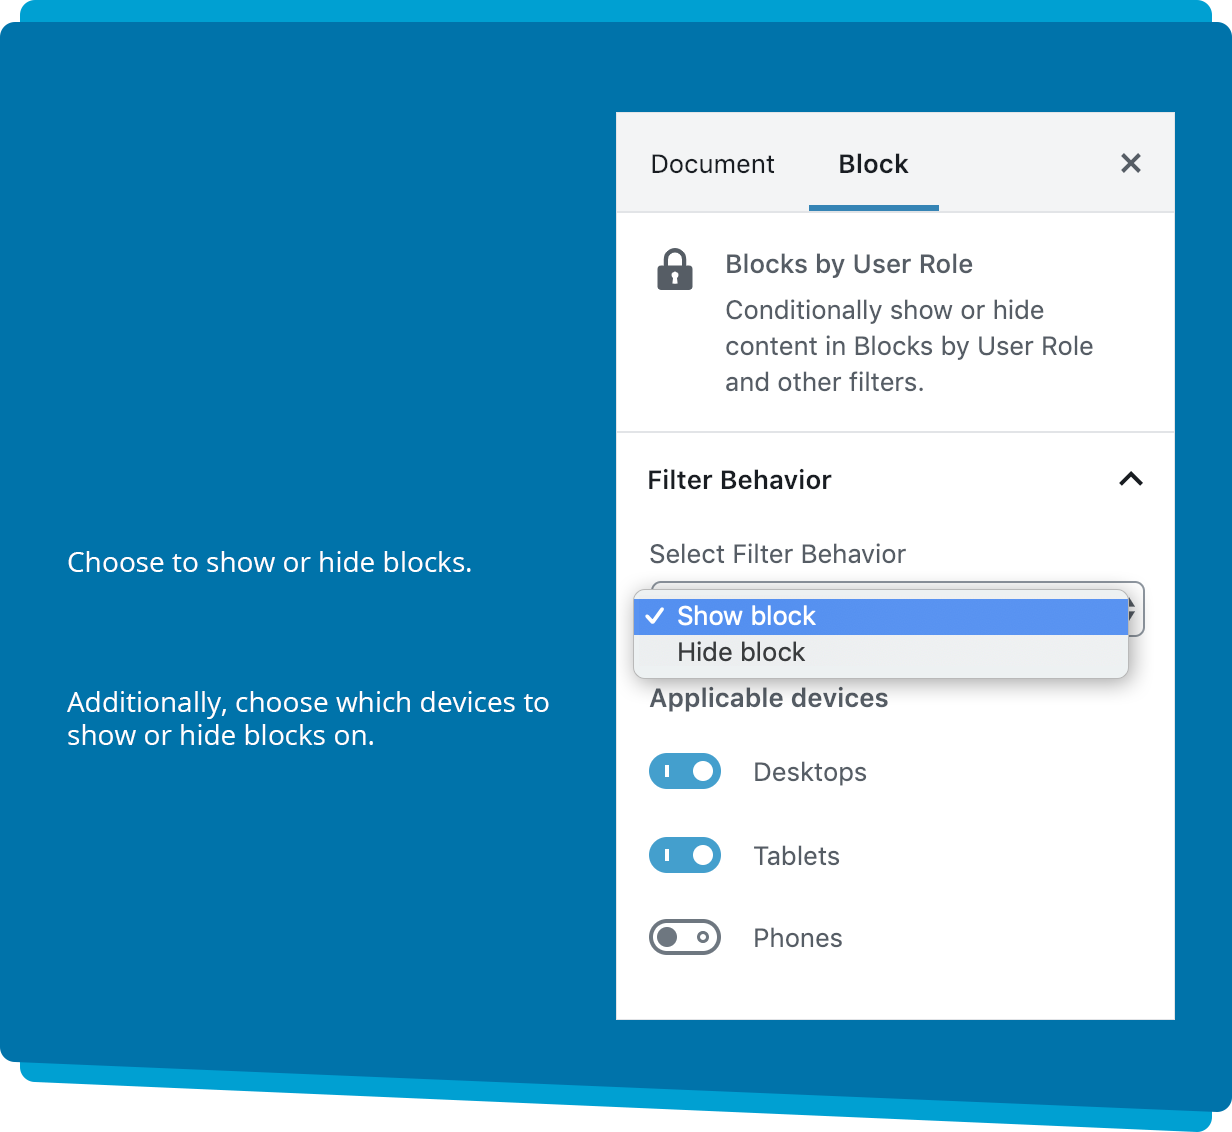
The Filter Behavior tab allows you to choose whether you want to show or hide the Block and at the same time, choose Block visibility for specific devices. The behavior applies to all Blocks inserted into the Blocks by User Role Block.
User Role and Capability
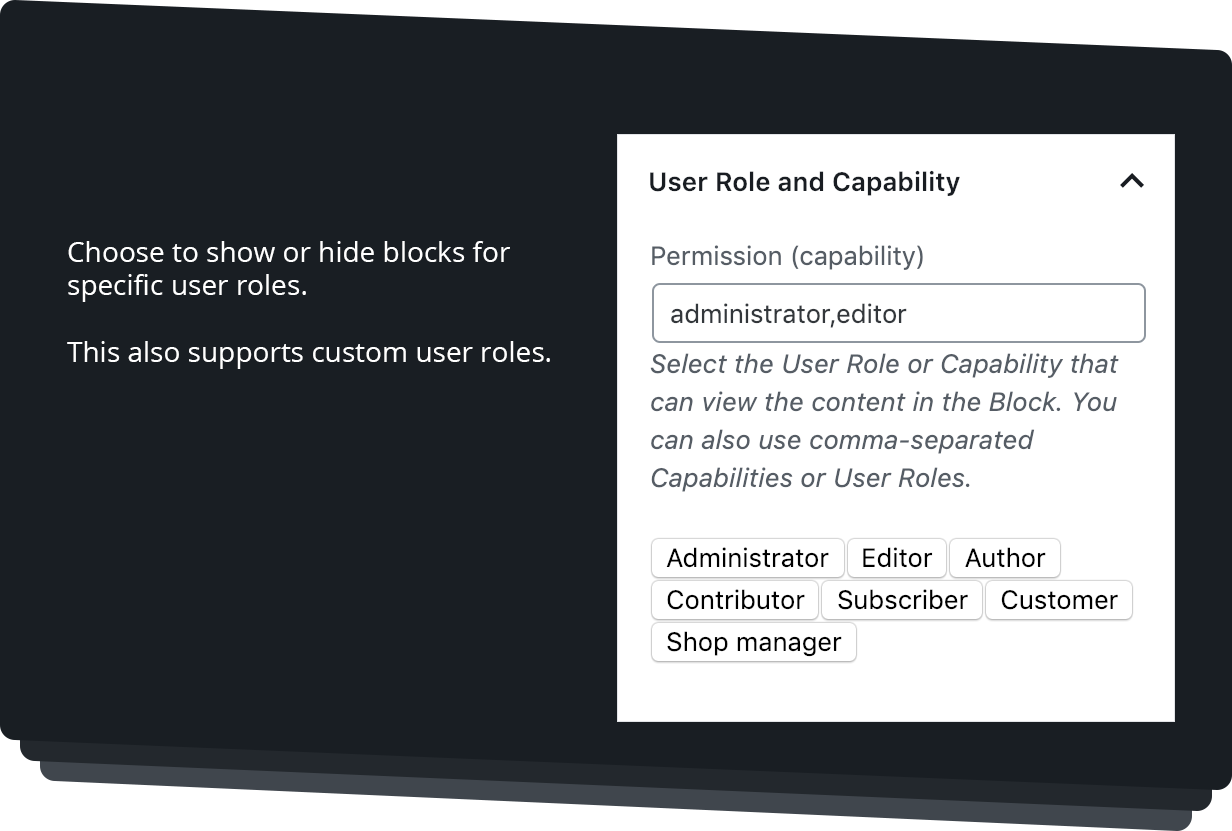
The User Role and Capability tab allows you to choose the user role or capability that the user must have in order to view the content in the Block.
Or if you have chosen to hide the Block in the Filter Behavior tab the block content will be hidden to users based on the user role and capability.
Login/Logout Status
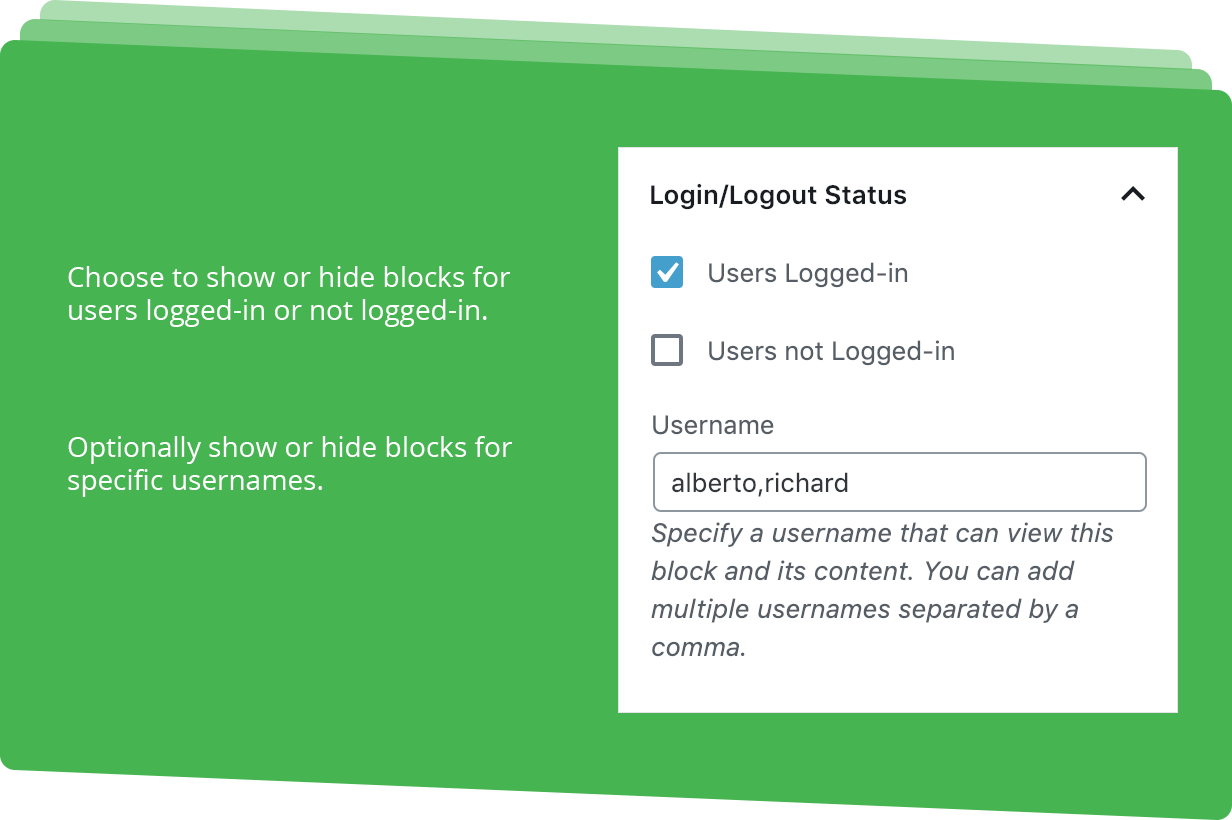
The Login/Logout Status tab allows you to choose whether the Block content is visible to users that are logged-on or not logged-in, and optionally, you can enable this feature for specific usernames.
Restrict Block Settings
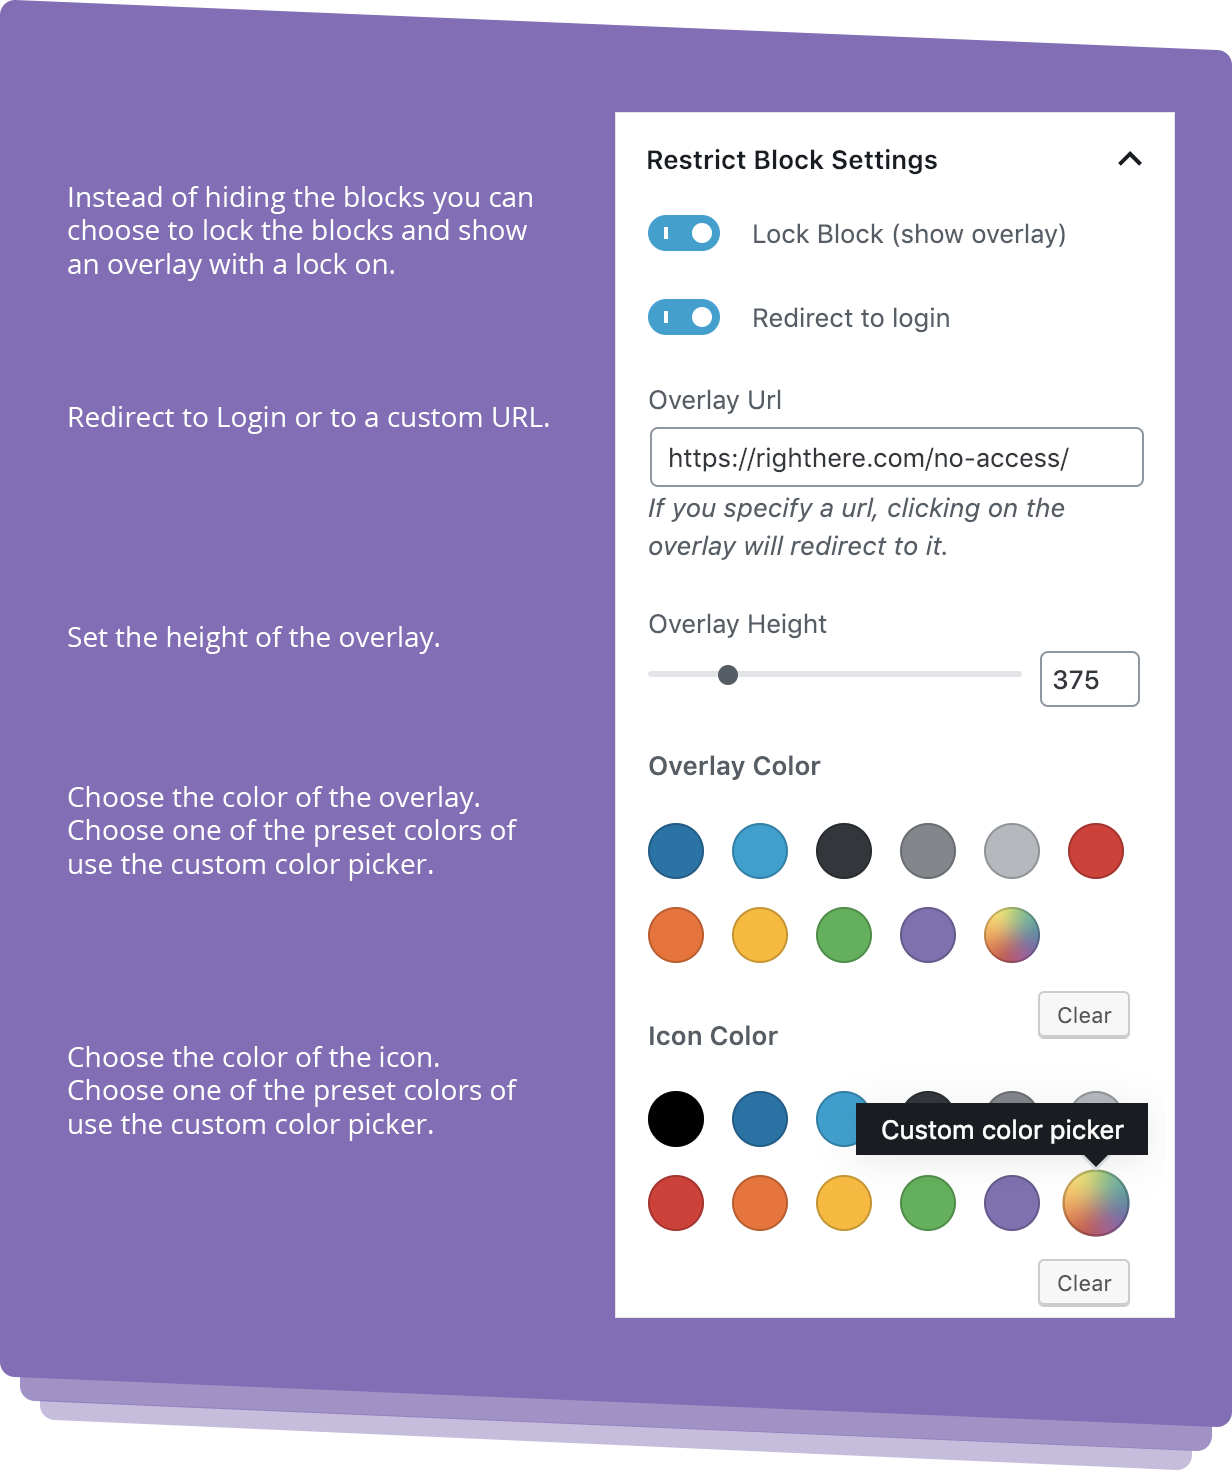
The Restrict Block Settings tab allows you to choose the behavior of the Block when the user is accessing the Page or Post where the Block appears.
If you choose to Lock Block, an overlay is showing. You can set the height, color of the background, and color of the text in the overlay. You can also enable Redirect to the Login or add a custom URL.
Date, Time, and Weekday’s
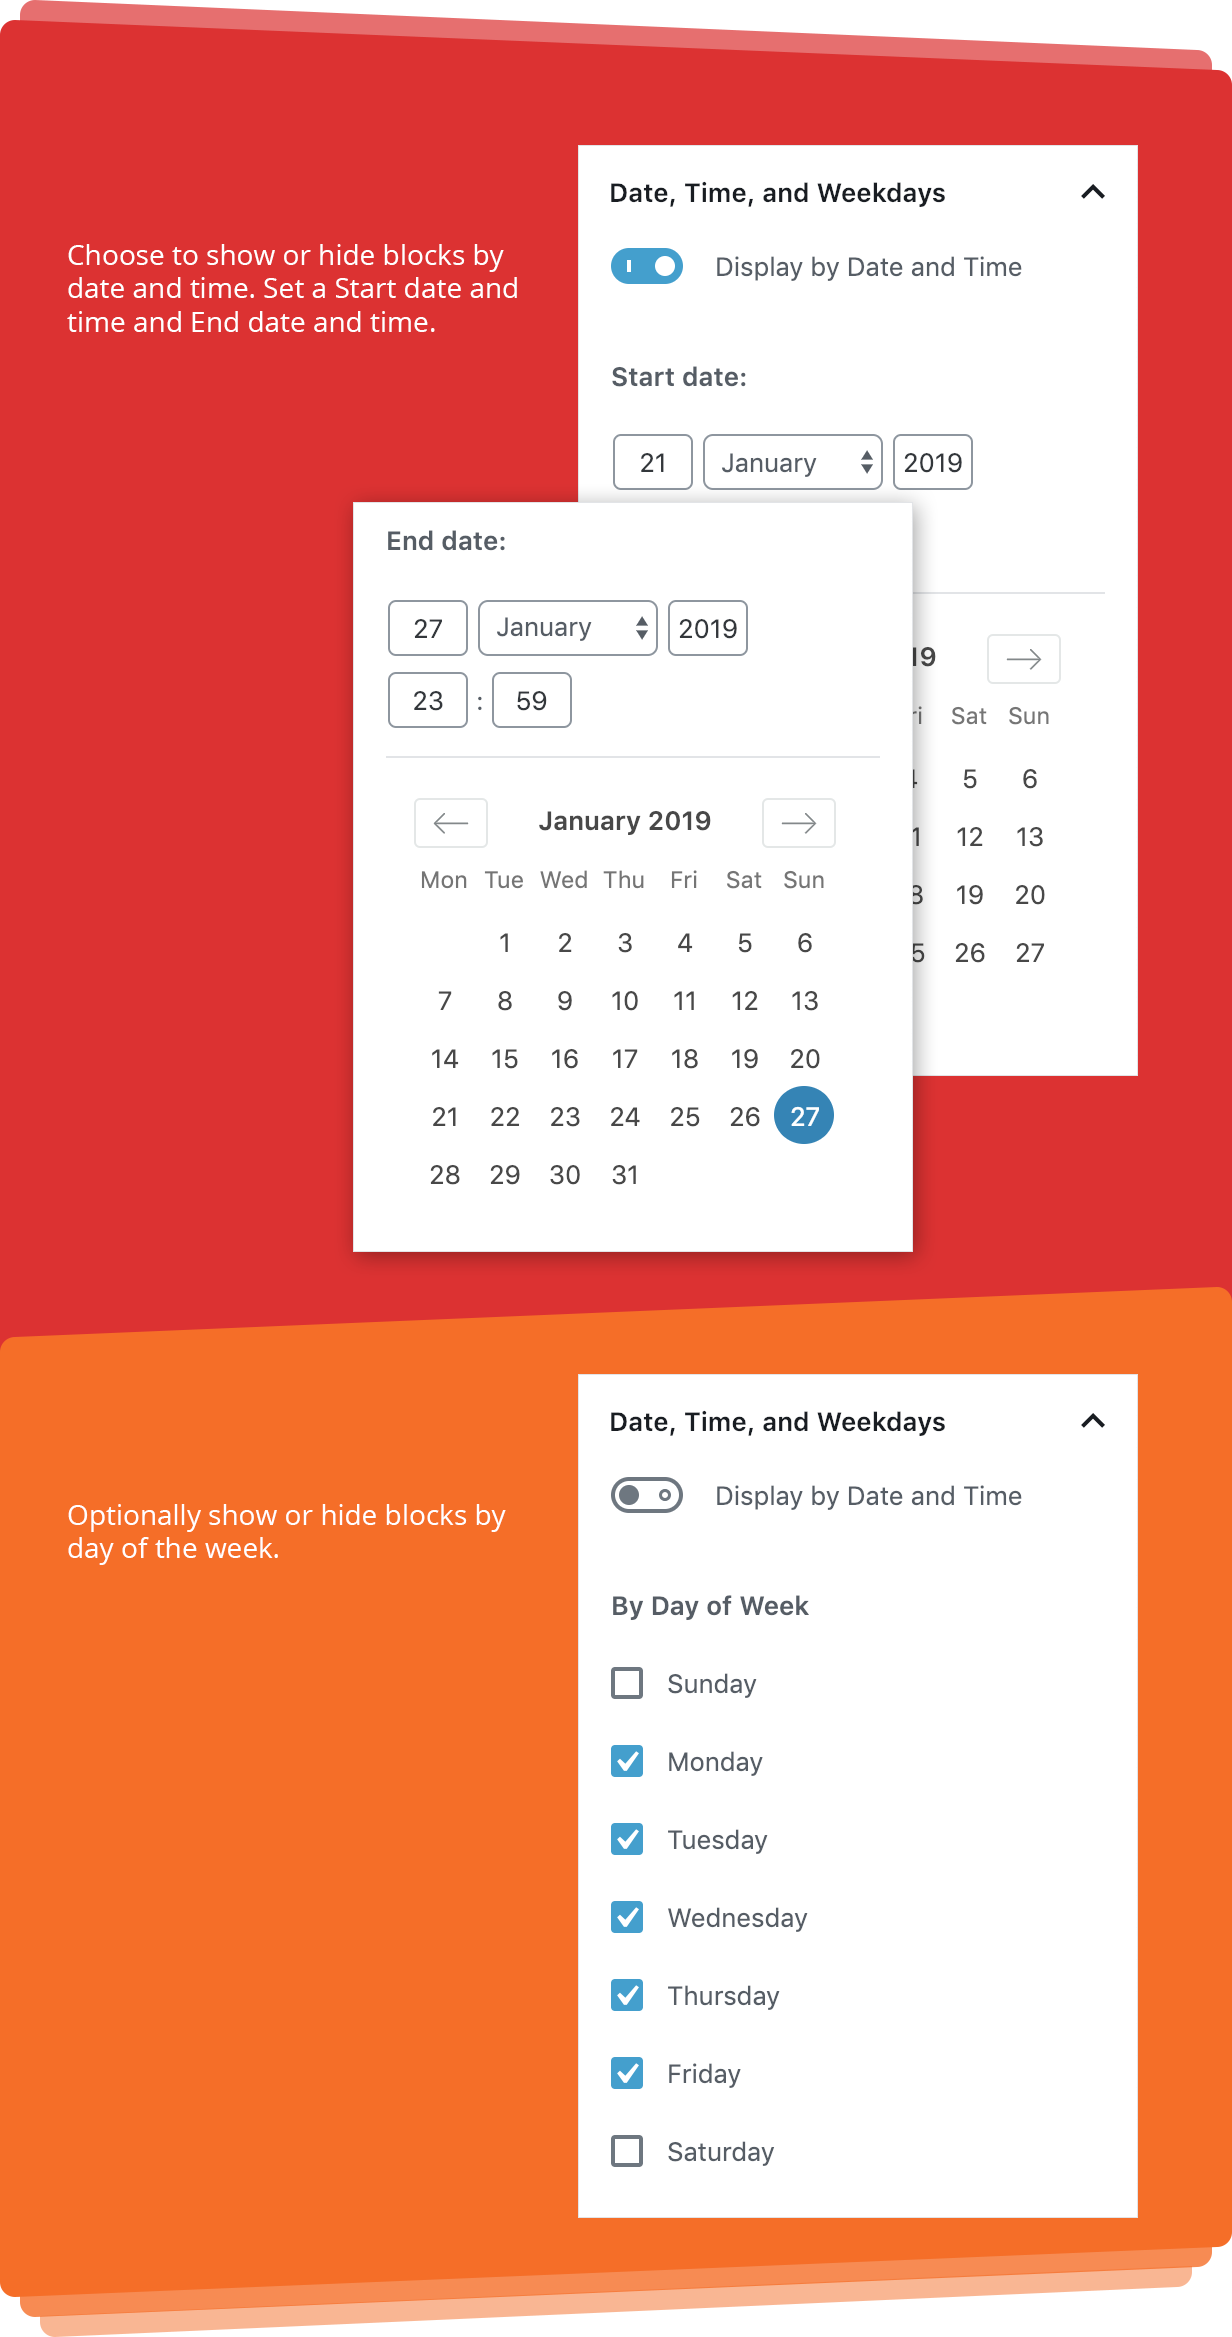
The Date, Time, and Weekdays tab allow you to choose the specific start date and time, and end date and time for your Block to be visible or hidden depending on what you have selected in the Filter Behavior tab. Optionally you can also choose to apply the filter for specific weekdays, or only use Weekdays without any date or time settings.
Template Tags
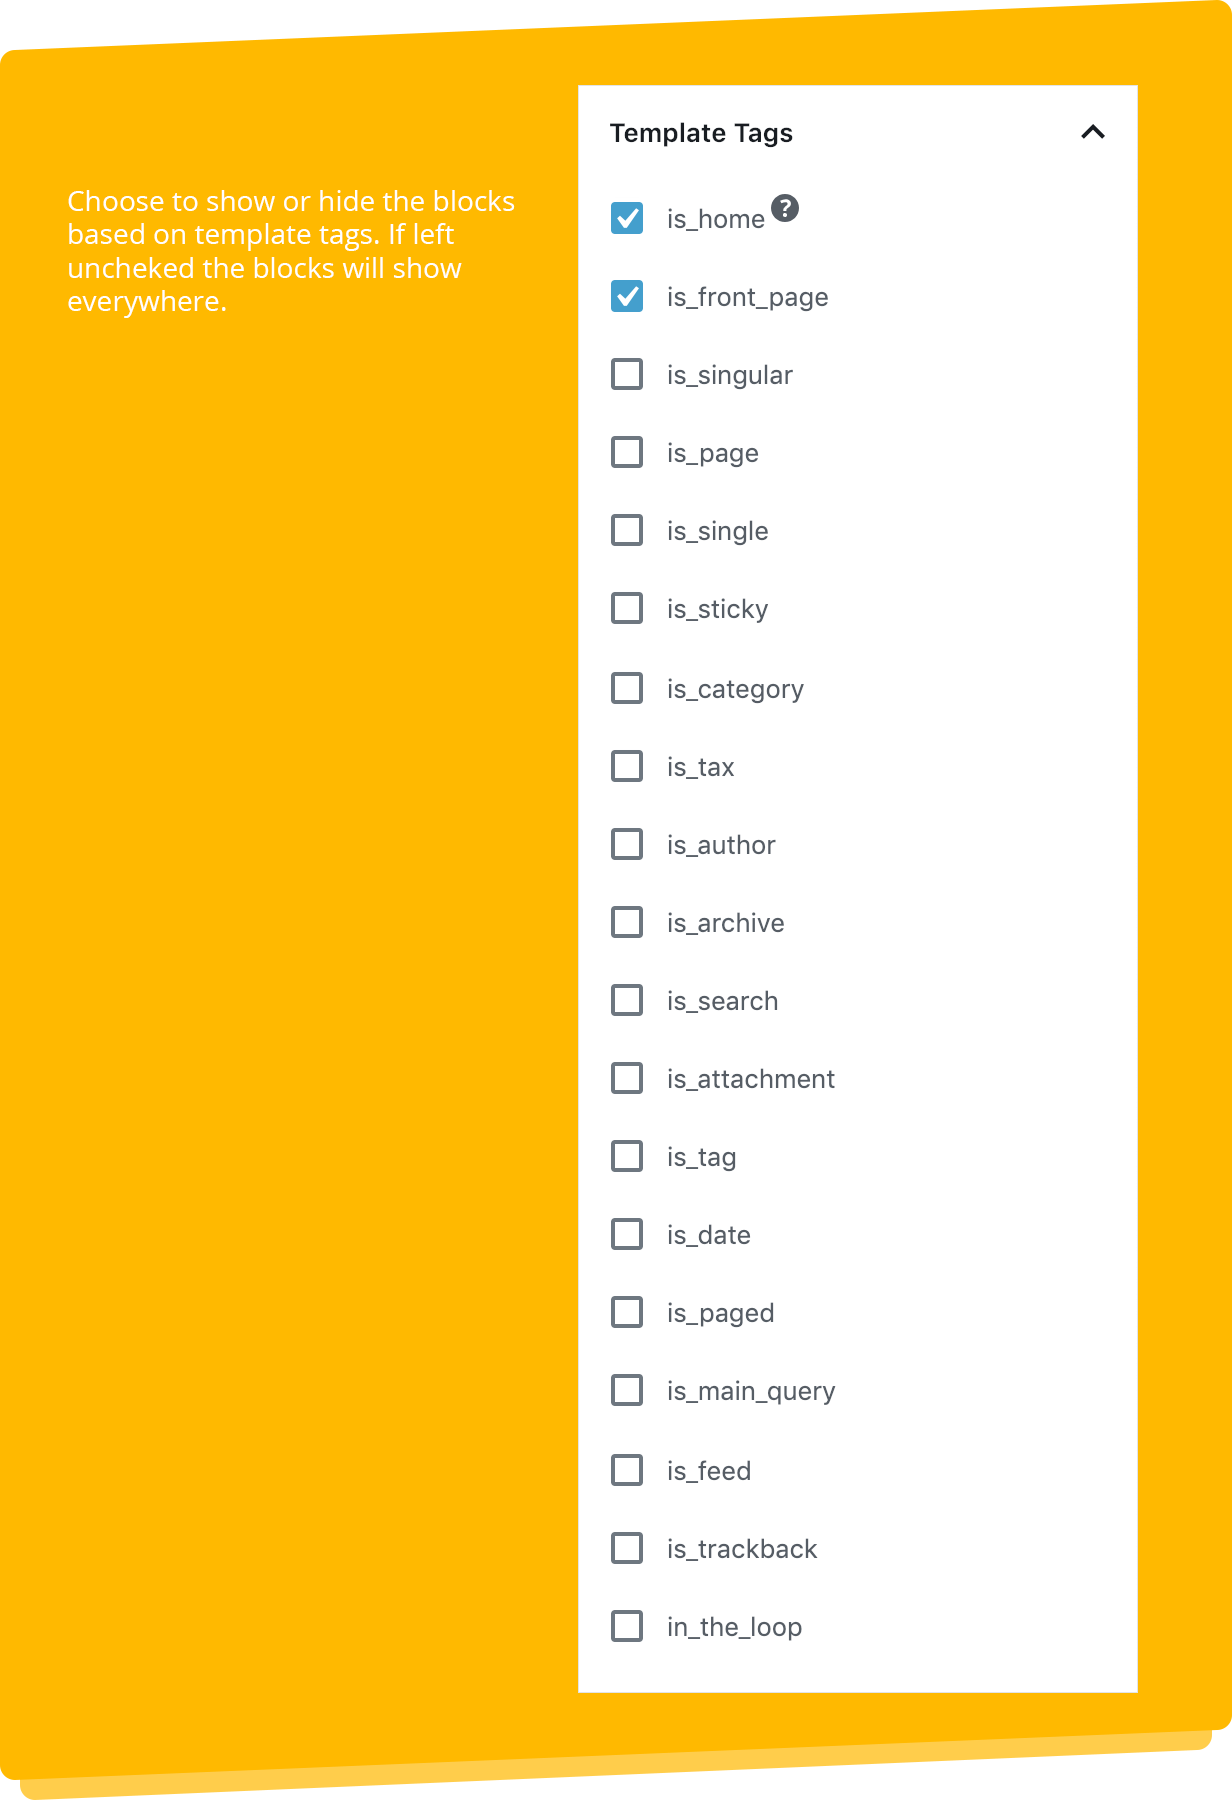
The Template Tags tab allow you to choose if the Block is visible when inserted on a Page or Post with a specific template tag. This is considered an advanced feature.
Block Animation
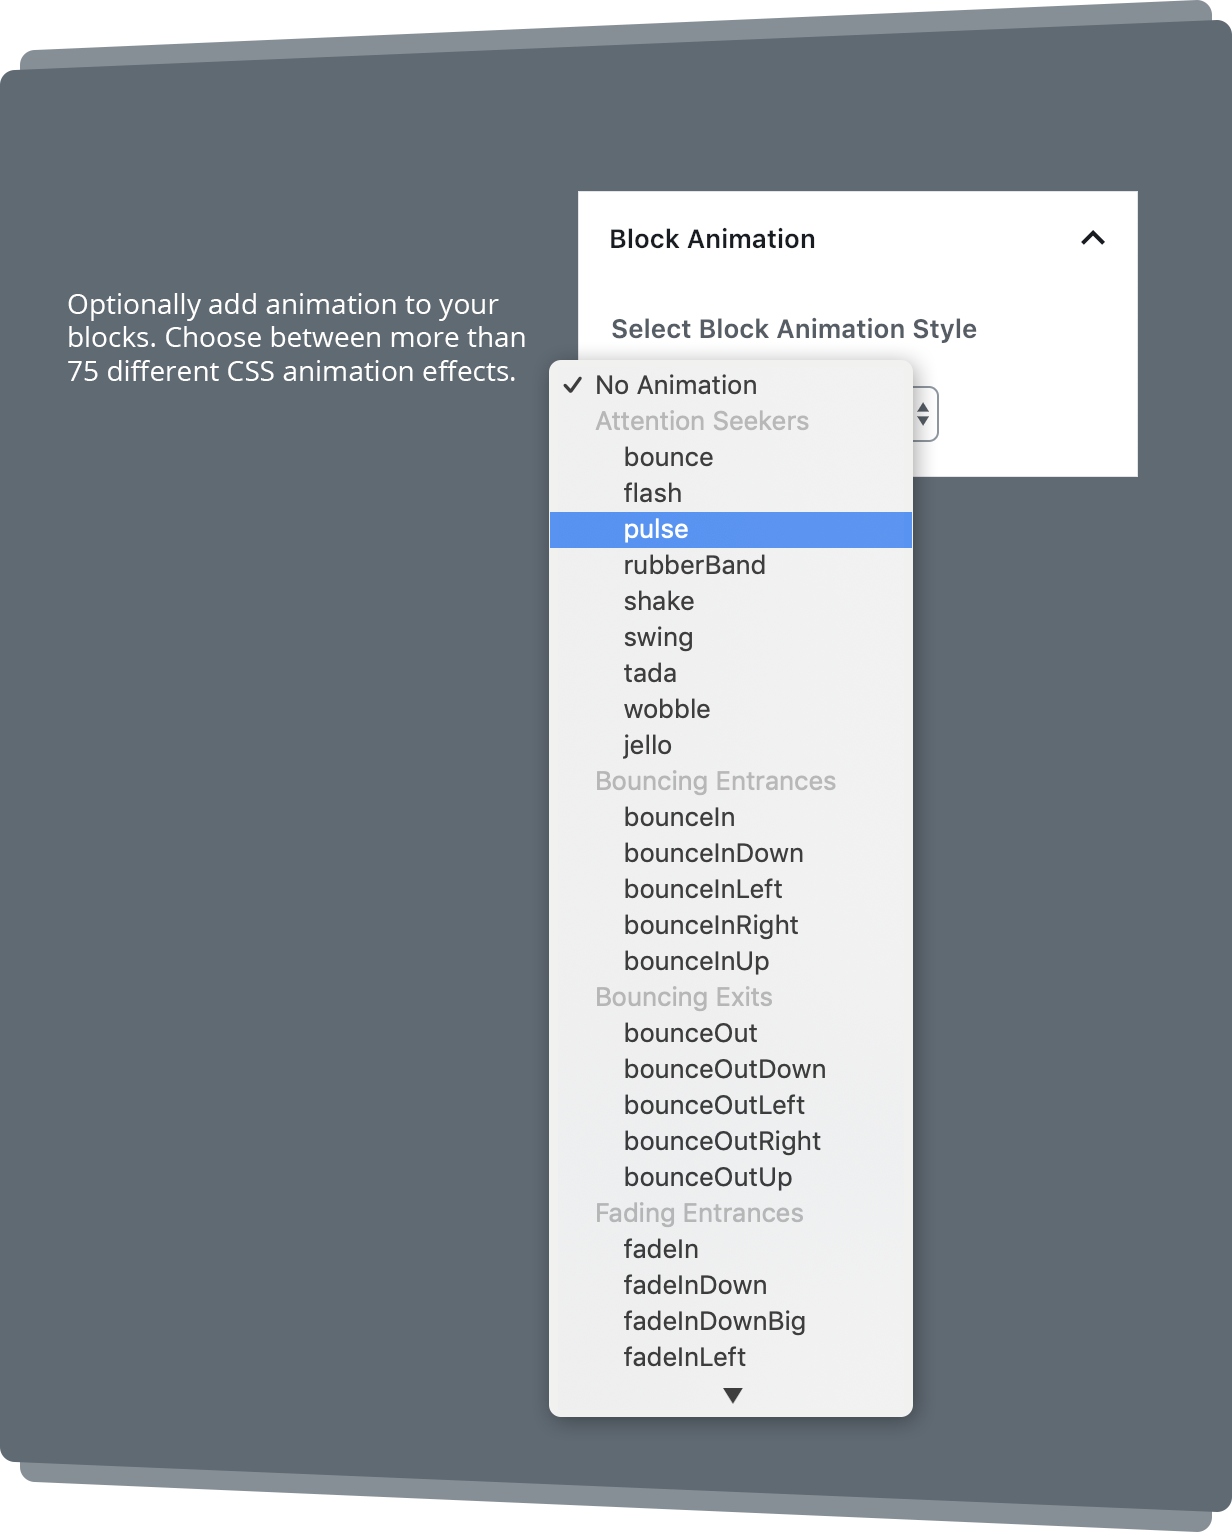
The Block Animation tab allows you to add animation to your Block. Choose between more than 76 different CSS animation effects. Subtle motion and animation can enhance design without being too distracting. The animations apply to all content in the Block. You can easily add a subtle effect to any element, making it more appealing to the visitors.
WooCommerce
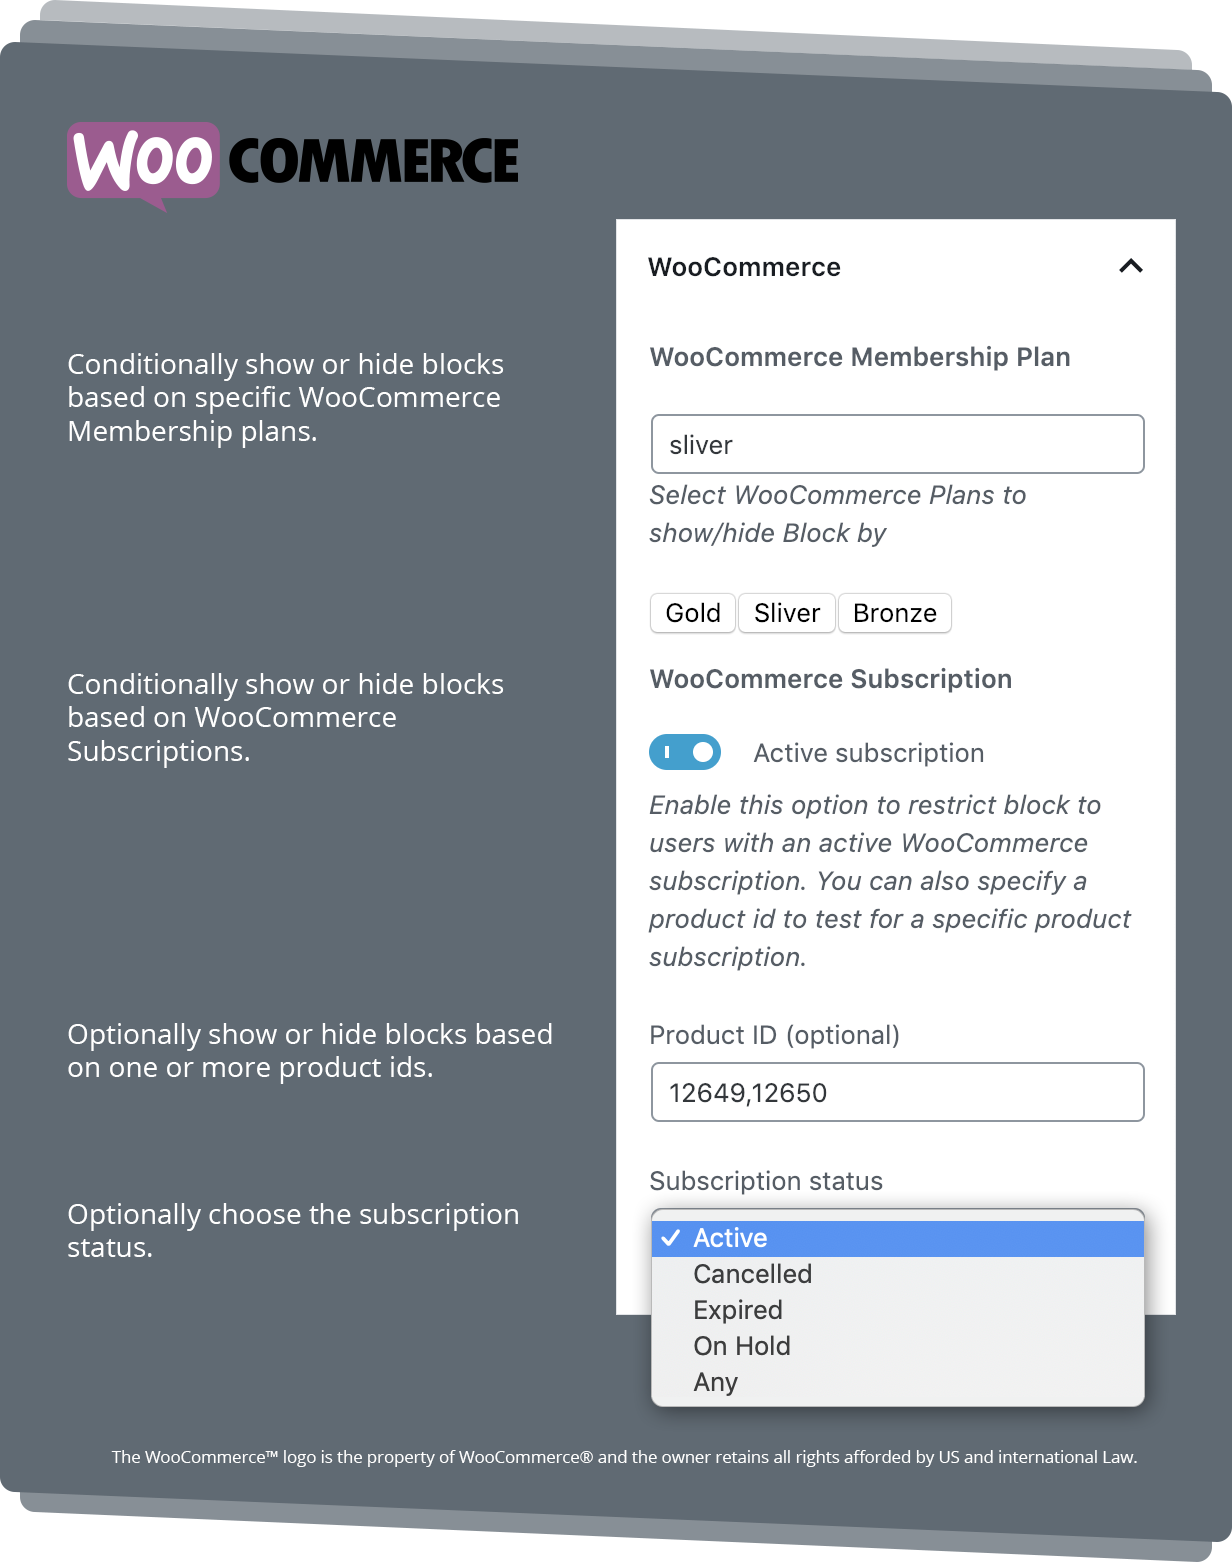
Blocks by User Role for WordPress supports WooCommerce Memberships plugin and WooCommerce Subscriptions plugin.
The WooCommerce tab allows you to show or hide Blocks based on the logged-in visitors’ specific WooCommerce Membership plan and/or whether the visitor has an active subscription.
If you can’t find an answer to your questions on this page or in our FAQ, and you have already looked in the “Get Started” section, please feel free to use the Live Chat bottom right-hand side.

